What I was already taking and doing was :
-Every night before bed I took vitamins like Prenatal and Biotin Hair, skin and nails .( I wasnt being consistent with taking them everyday )
- 2x a day I would rub Burts Bees cuticle cream on my cuticles and nail beds .
- Wore gloves any time I did the dishes
That all worked out fine and dandy but it just wasn't cutting it anymore for me , I still was having some issues and needed a little something more for my nails .
With the research that I did, I watched nail care videos and read up on the products that people were using in their nail care that had worked out well for them . Then after a little reading I made myself a list of things to go out and get .
What I did read a lot of was, making sure you protected and moisturized both your nails and cuticles everyday . I didn't think about it till after someone said that when your are doing any small amount of cleaning make sure you wear gloves. I had a pair that I would use for when I did the heavy duty house cleaning . But as of late I've made sure that I wore them with annnny type of cleaning I was doing from Dishes, mirrors , counter tops ect. I made sure that I was wearing something to protect my nails. Im sure its not the 1st thing that comes to mind when you want to just wipe down your bathroom mirror. Is to throw on a pair of gloves for something small. But the chemicals in the cleaning products are very drying and can strip the oils and whatnot from your nails then you would start to have splitting or peeling of your nails after time of not protecting your nails.
So down below are weekly photos that I was taking to keep track of my nail growth and care routine .
I hope if you decide to try this out and it works for you please feel free to leave me a comment and let me know how it has gone for you .
DAY :1
I filled and trimmed my nail to begin the process .
Mixed up some of my own cuticle oil

How I noticed the growth on my nails was some nails barely reached the tip of my fingers compared to a week later . Going into week one all I did was moisturize my nails with the oil mix( morning and night), I had nothing on my nails for the 1st week just left them bare.


Ending week 1 :
With ending week one going into week 2 , I am doing the same thing with the oil everyday 2x a day( more if my hands are in water a lot ) . Then at this point I am now adding a nail strengthener along with my oil routine . Any type of strengthener of your choice will work fine . Just follow the instructions of how often to reapply .
My recommendations are :
*My HG ( i have like 5 back ups ! hah ) is Nail-aid triple thickener *
- Nail Tek foundation II ridge filler
- O.P.I Nail Envy in original or Matte
- Essie grow stronger


Here on out I'm just continuing what I'm doing .
Week 2


Week 3


Week 5 to date * 8-17-12
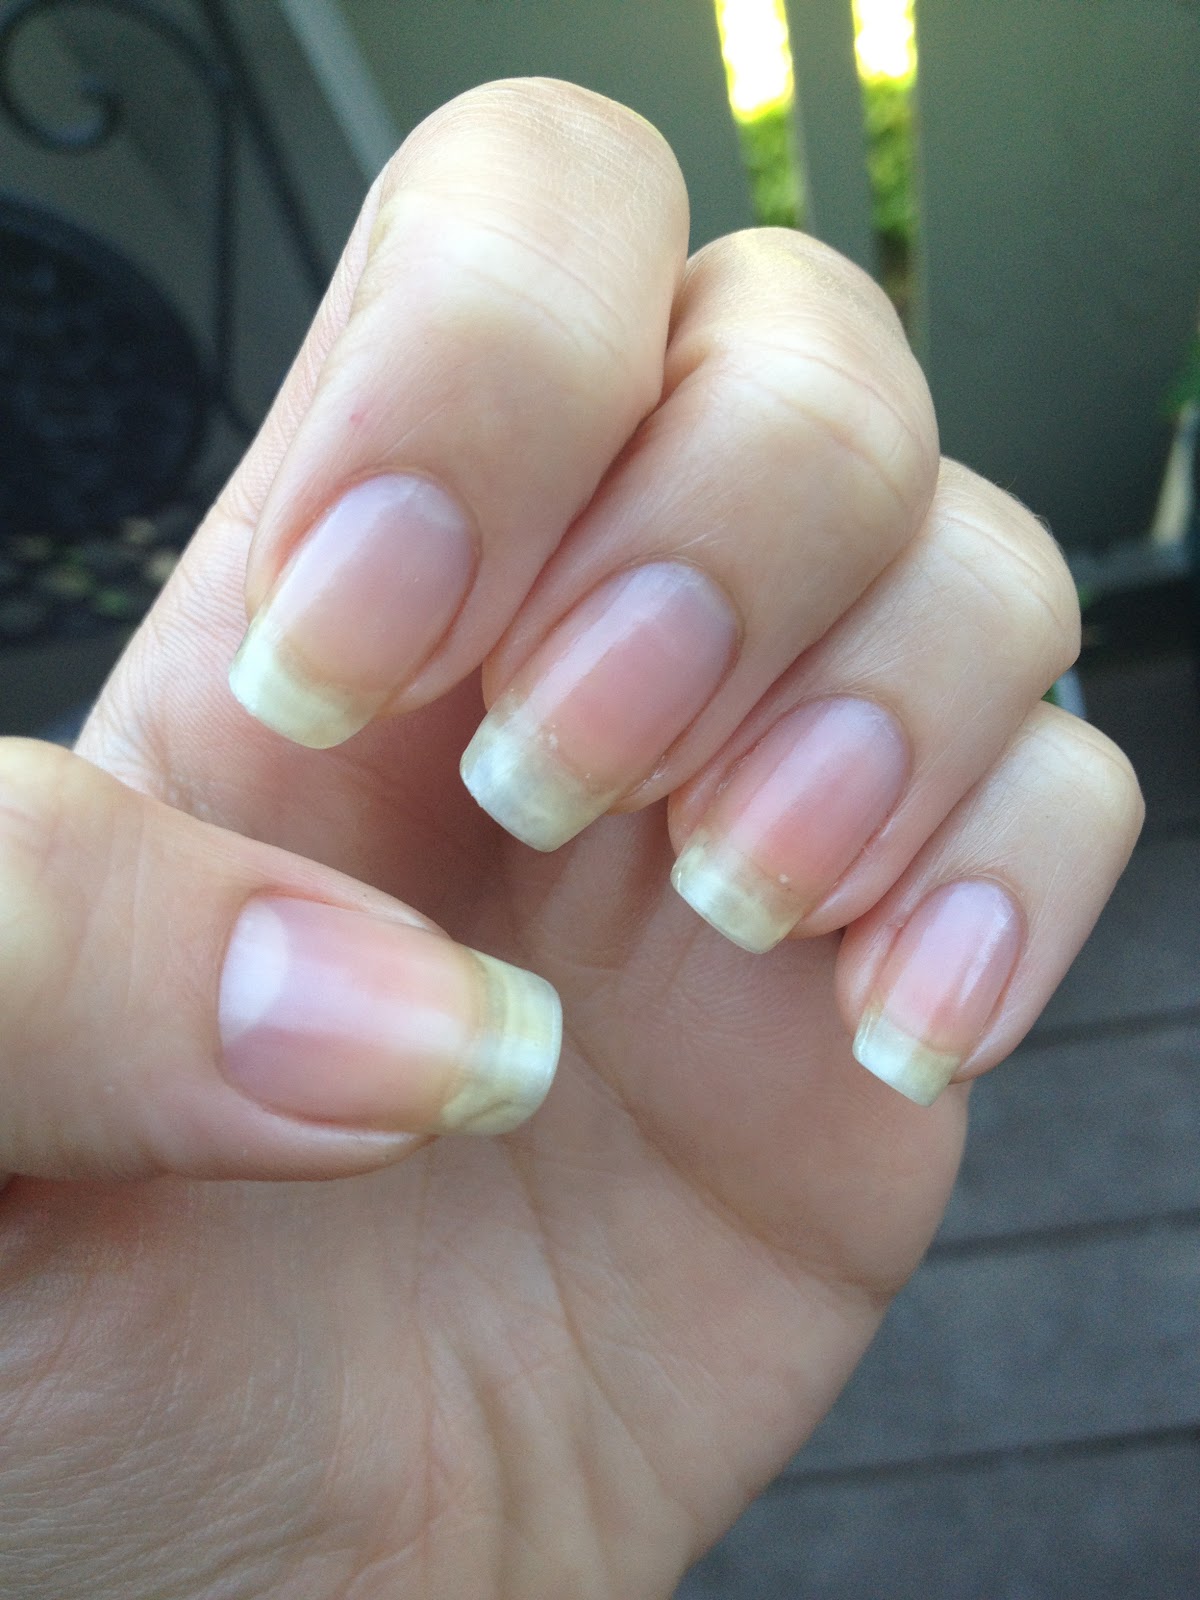

week 6 to date *8-24-12

So as you all can see they have grown out pretty well in the weeks of keeping track. This has been THE best my nails have EVER looked. And this has been the longest I have ever been able to grown my nails out. The length of week 2 was pretty much the length I could ever grow my nails out to . So the length that they are at now I am so excited and happy with.
I have only had 1 breakage with my right thumb with what I was doing at work , but ever since then it has grown back fast like a champ . hah
They have been flexible and strong , I have had so many incidents where in the past my nails were for sure goners and have broke. But as of late every time I do something I have that moment of pardon my language but SON OF A BITCH! it's a goner then look down and nothing has happened . No cracks or breaks when there would have been before.
So next ill just kinda list off the things i now do and don't do .
- Use a glass file , the regular kind are too abrasive
- File in one direction , not in the back and forth motion . It may seem like it's not a big deal but you are sawing the tips of your nails especially if you use a regular file.
- Always wear gloves with any type of house work you are doing , big or small.
- Wear gloves when doing dishes , constant exposure to water is not good for your nails.
- Always moisturize your cuticles .
- Try not to over buff your nails ... too much buffing makes your nails thin and prone to breaking (healthy nails do not need buffing . If your nails are healthy they will grow out smooth... I haven't had to buff my nails in weeks)
- Starting out you an use a nail hardener like Sally Hansen Triple Strength nail hardener, but id say only use it for a couple months to help the start of your nail growth. But then after that switch to a nail strengthener . The hardeners takes the moisture out of your nails there for making them strong , doing that for too long will make them too dry then they can break. Most hardeners contain formaldehyde in them .
- Each time I give myself manicures I file then slightly , maybe up to 3-4 passes with my glass file to take away any possible micro splits that I may have. So that if I run my fingers thru my hair it wont snag and make it worse .
- I oil my cuticles up to 3x a day more if I feel its necessary . Morning , noon and at night right before bed. ( I keep a small thing of cuticle oil on my side of the bed.
- I do NOT use my nails as a tool anymore. Not opening boxes with my nails.. not opening containers with my nails... not scratching things off of stuff ect.
- I take my vitamins every morning & night before bed.
- You are what you eat I guess haha and drink so I mainly drink water in my day sometimes i'll let myself have 1 thing other then water .
My recommendations for moisturizer for your cuticles. I absolutely love these both
LUSH - lemon flutter
Burts Bees - lemon cuticle cream
I feel like I'm forgetting something but it's not coming to my mind right now . If it does hit me ill come back and update the post.
One more thing this has helped me out a great deal with my nails. This may or may not work for everyone. Some people are lucky to have naturally strong nails without doing anything extra. I however am not one of those. And have stuck to this routine for now going on 7 weeks and its going great .
I hope you all have a great day ! <3


